fabric book cover
June 24, 2015Around December last year, I found a tutorial in youtube on how to stitch your own book. I've been making three ever since because it's totally cheaper, it can lay flat, and it's fully customize-able, from the paper I use to how I would like to do with the cover. For the three book that I made, I use a cereal box and glued it to the first page of the book (you can also stitch it but I found it not as sturdy).
 |
| my books, and their bare spine and cover |
I love this kind of book cover in particular because it is reusable. A friend of mine gave me a notebook with this kind of cover and I currently use the cover as my passport cover. I can also make another notebook in similar size and use the cover for that. I thought that it doesn't require a lot of thought when making the pattern and not many parts to sew.
So, yesterday morning, I sit quietly on my bed and do the whole thing, and 3 to 4 hours later, my book is finally fabric-covered! Yes it took a long time, but I totally satisfied with the end result.
Here are things I use to make mine :
I used canvas fabric because it's pretty sturdy. I think it's a bit thinner than the fabric on my canvas bag. I didn't know about any other fabric but I think anything not silky will do just fine.
I also used an embroidery thread for sewing and PVC glue (we'll get there).
What I did is pretty simple, it only took some time (not as easy as my previous project) and perseverance. Of course it will take less time if you use a sewing machine. This is definitely one of those time when I want to master the skill of sewing (and also own the machine myself 0_0)
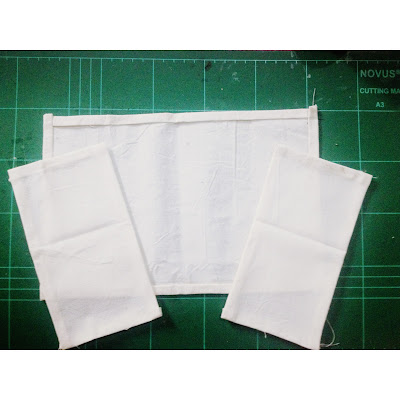
First, I mark my measurement on the fabric using pencil and ruler. For my book I cut one 30 x 21 cm (for a 24 x 15 cm book) and two 13 x 21 cm parts for where I would insert my cardboard cover to.
I cut those parts out and start working with the glue. I fold each edges of the fabric twice and glue it in place to make a nice and good edge for the cover without having the fiber unraveled. Actually, I can directly sew it (jump to the last step right away) but I am not that good in sewing and that stressed me out (holding the folded fabric, keep track of my thread, and so on and so on) so I used the glue.
 |
| finishing all three parts of the cover |
 |
| zoom in on the edge |
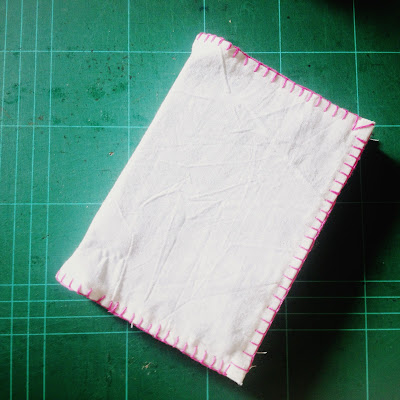
After everything is glued in place, I started sewing the edge. First, I'm securing the parts I'm sewing with some sewing pins and start sewing. This is the hardest part of the project. I use the blanket stitch (as this is what I usually use and the easiest, and better looking than regular stitch). You can learn it here and here. (And yes, it can help you make stuffed animal! Cool, right?).
 |
| securing the parts with sewing pins |
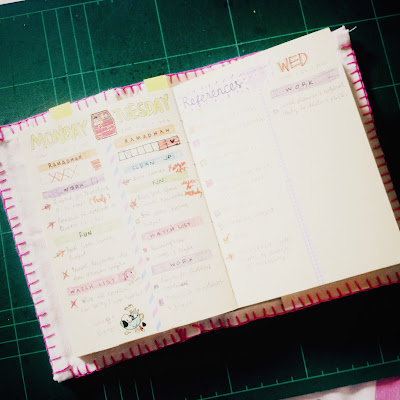
And voila, my DIY notebook now have a DIY fabric cover!
 |
| messed up on the corner. but well... |


0 comments